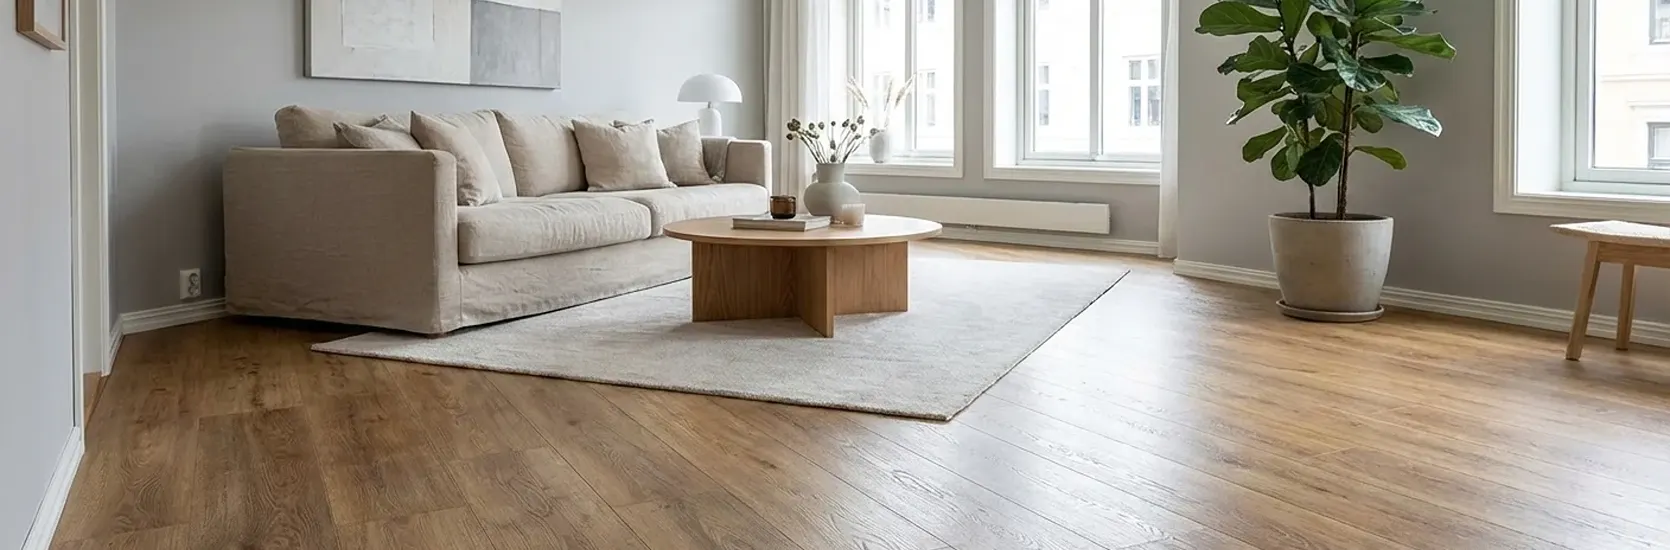
Installing laminate flooring is a manageable DIY project when you follow the correct preparation and fitting process. You need the right tools, a clean and level subfloor, accurate measurements, and careful plank placement. If you prefer professional installation, a flooring company in Dubai can help you choose suitable flooring and arrange installation.
For most click-lock laminate products, the planks connect through interlocking edges and sit over a suitable underlay or prepared base. Always check your product’s installation instructions first, as requirements differ by flooring type.
Tools and Materials You Need
Prepare the following items before starting:
- Laminate flooring planks
- Compatible underlay, if required
- Measuring tape
- Pencil and straightedge
- Spacers
- Tapping block and pull bar
- Jigsaw or suitable flooring saw
- Utility knife for materials approved for knife cutting
- Hammer
- Broom or vacuum cleaner
- Knee pads and appropriate safety equipment
- Moisture barrier, if required by the subfloor and flooring manufacturer
- Skirting boards or suitable finishing profiles
Check your laminate flooring instructions to confirm which tools, underlay, and accessories you need.
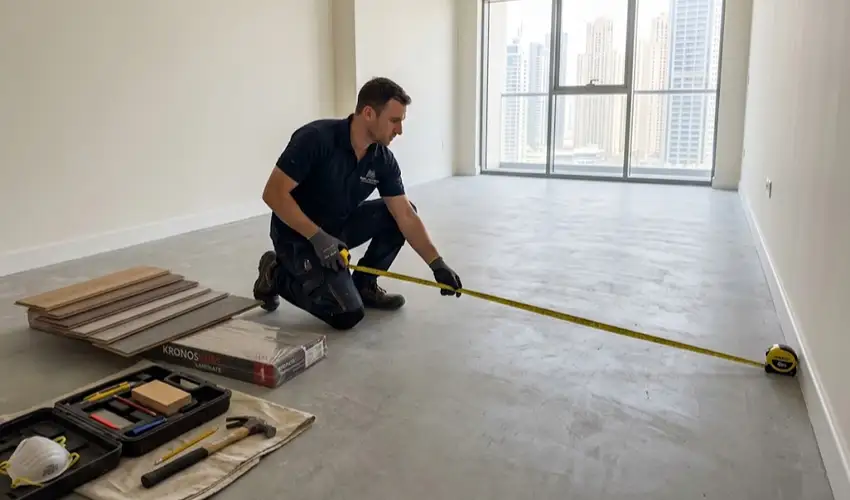
Step 1: Measure the Room
Measure the room’s length and width, then multiply the measurements to calculate its floor area.
For a rectangular room:
Floor area = Length × Width
For example, a room measuring 5 metres long and 4 metres wide has a floor area of 20 square metres.
Measure alcoves and other irregular sections separately. Add an allowance for cutting waste based on the room layout, plank dimensions, and installation pattern.
Check the measurements twice before ordering. This helps you estimate the quantity of laminate flooring and reduces the risk of running short during installation.
Step 2: Prepare the Subfloor
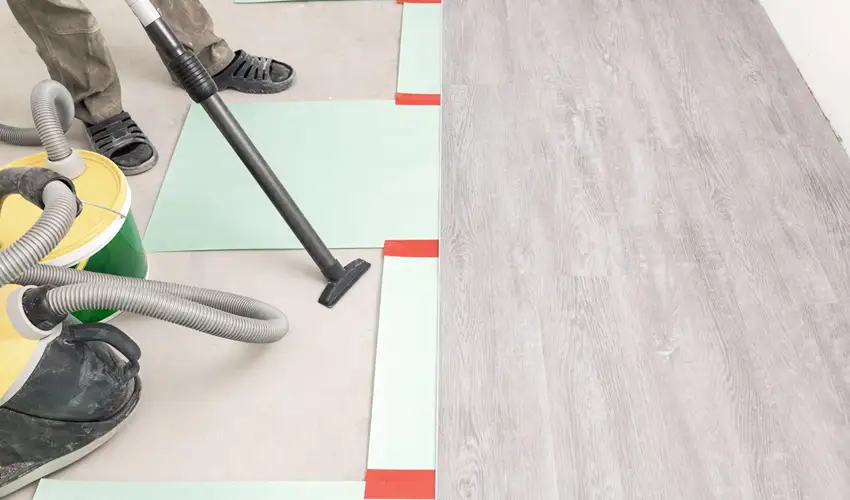
Subfloor preparation is one of the most important parts of laminate flooring installation. Dust, moisture, loose materials, and uneven areas affect how the planks fit together.
Follow these steps:
- Remove loose flooring, debris, and dust from the surface.
- Check for cracks, raised edges, loose tiles, and uneven areas.
- Repair defects using materials suitable for the existing subfloor.
- Check moisture levels using the method specified by the flooring manufacturer.
- Allow cleaning products, repair compounds, and the subfloor to dry fully before installation.
Laminate flooring often works over suitable concrete, plywood, or existing tiled floors. However, the surface must meet the product’s requirements for flatness, stability, and moisture.
If you plan to install laminate over tiles, inspect the tiles for movement, cracks, and uneven joints. Repair any defects before proceeding.
Step 3: Acclimatise the Laminate Planks
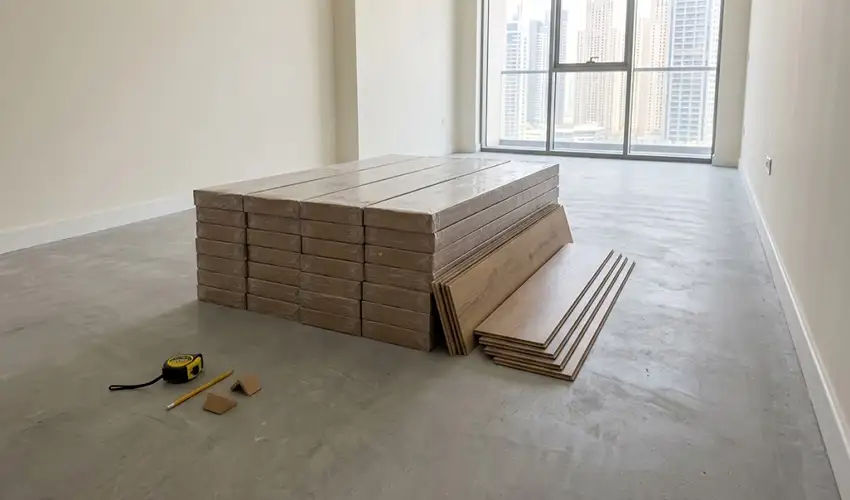
Allow the flooring to acclimatise in the installation room according to the manufacturer’s instructions. Many laminate products require around 48 hours, although the exact period varies by product.
Keep the unopened packs in the conditions specified by the manufacturer. Check the recommended room temperature and humidity before laying the floor.
Acclimatisation helps the planks adjust to the room’s conditions before fitting. This reduces the risk of movement caused by changes in temperature and humidity.
In Dubai, consider the indoor conditions as well as the outdoor climate. Air conditioning, room humidity, and temperature changes all affect the installation environment.
Step 4: Install the Underlay
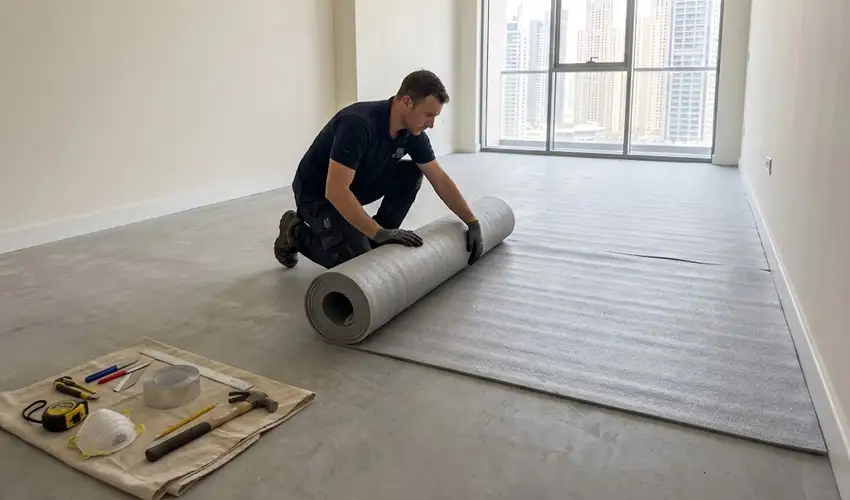
Check whether your laminate flooring needs a separate underlay. Some products include an attached backing, while others require a compatible underlay beneath the planks.
If a separate underlay is needed:
- Clean the subfloor again to remove loose particles.
- Roll out the underlay according to the manufacturer’s instructions.
- Join the edges as directed, avoiding unnecessary overlaps.
- Install a moisture barrier where the product and subfloor require one.
- Confirm the finished base is smooth before laying the planks.
Choose underlay based on the flooring specification and subfloor type. An unsuitable or excessively thick underlay might affect the stability of a click-lock system.
Step 5: Plan the Plank Layout
Before installing the first row, decide which direction the planks should run. Laying them along the length of the room or in line with the main light source often creates a balanced appearance.
Measure the room’s width and compare it with the width of the planks. This helps you estimate the width of the final row.
If the final row would be too narrow, adjust the first row’s width where the installation instructions allow it. This creates a more balanced finish.
For herringbone or chevron laminate, follow the specific layout and fitting instructions. These patterns often require more detailed planning than a standard straight-lay floor.
Step 6: Lay the First Row
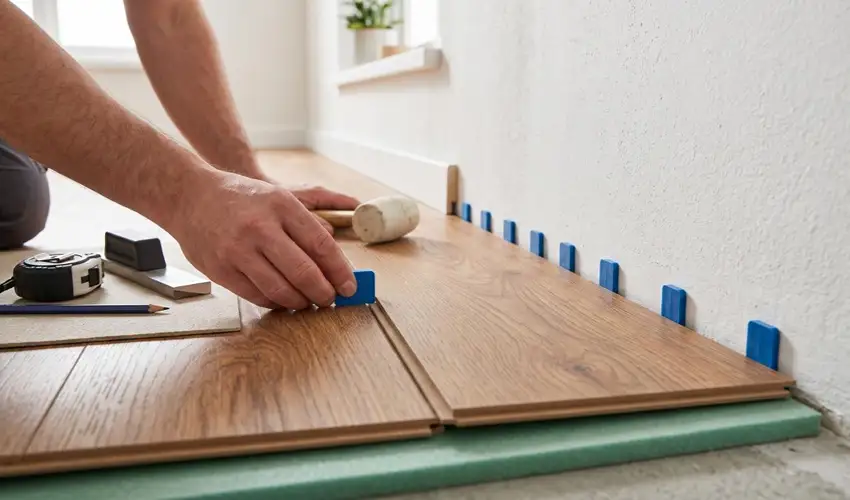
Start in the recommended corner of the room. Position spacers between the planks and the walls to maintain the expansion gap specified by the manufacturer.
Connect the first row according to the product’s locking system. Keep the planks aligned and check each joint as you work.
The first row determines the alignment of the remaining floor. Take your time to ensure it is straight before moving forward.
Do not push the planks tightly against the walls. Laminate flooring needs room to expand and contract as indoor conditions change.
Step 7: Install the Remaining Rows
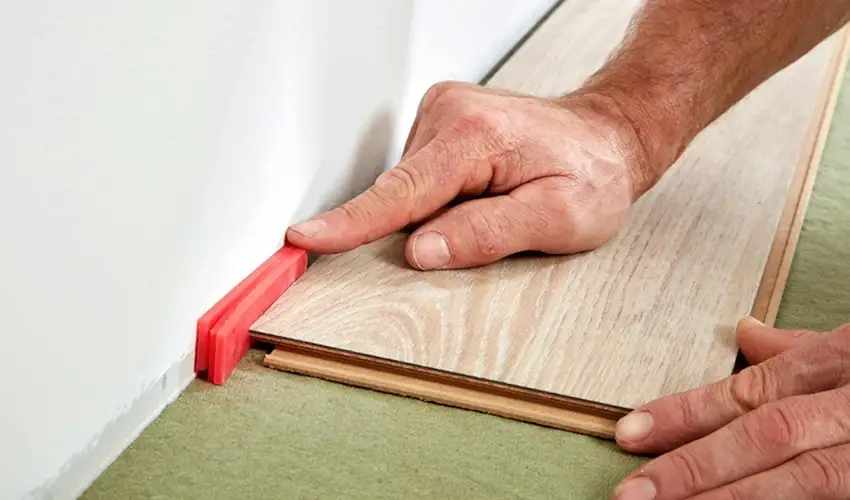
Continue laying the planks row by row.
- Connect each plank using the specified click-lock method.
- Stagger the end joints between neighbouring rows according to the manufacturer’s minimum spacing requirements.
- Use offcuts where suitable, provided they meet the minimum plank length requirements.
- Check the joints regularly for gaps or misalignment.
- Use a tapping block or pull bar only where appropriate for the locking system.
Avoid striking the laminate edges directly with a hammer. This might damage the locking mechanism or the plank surface.
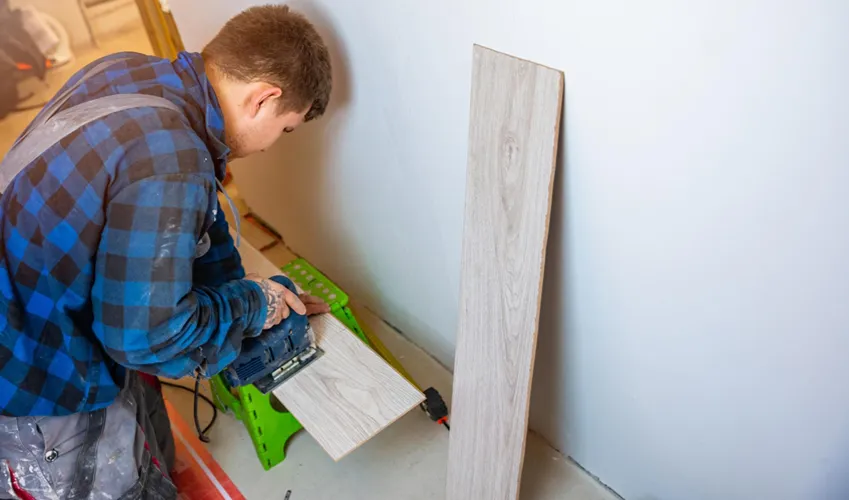
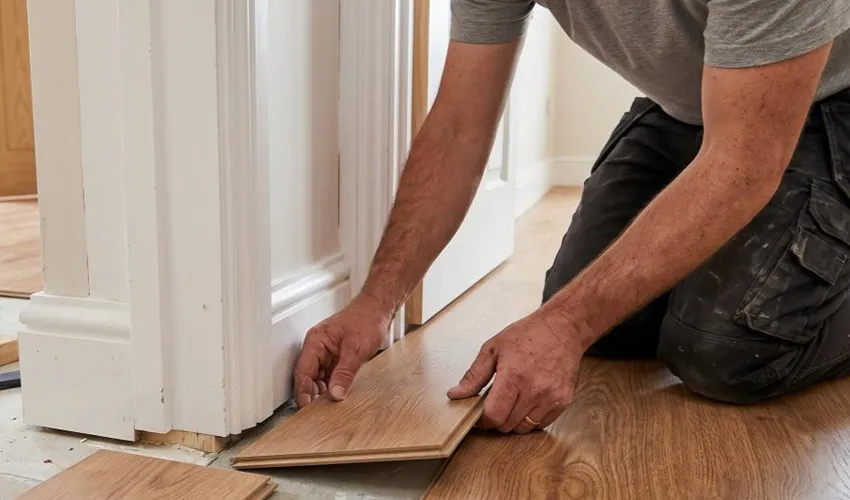
Work carefully around doorways, corners, and other obstacles. Measure each cut before trimming the plank, and wear suitable eye and hand protection when using cutting tools.
Step 8: Cut and Fit the Final Row
Measure the remaining gap between the installed floor and the wall. Remember to account for the required expansion space.
Mark the cutting line on the plank and use a suitable saw to trim it. Check the fit before installing the piece.
A pull bar helps position the final row where space is limited, provided the product’s instructions permit its use.
Make sure the final row remains securely connected and follows the required clearance around the room’s perimeter.
Step 9: Fit Skirting Boards and Doorway Profiles
Once the flooring is in place, remove the temporary spacers and install the appropriate finishing pieces.
Fit skirting boards or trim to cover the expansion gap. Attach them to the wall rather than pinning the floating floor in place.
Use suitable transition profiles at doorways and where laminate meets another flooring type. Follow the manufacturer’s guidance for transitions, expansion joints, and large room layouts.
If you need to trim door casings, check the required clearance and use the correct tools. Avoid cutting into hidden electrical wiring or other services.
Step 10: Inspect and Clean the Finished Floor
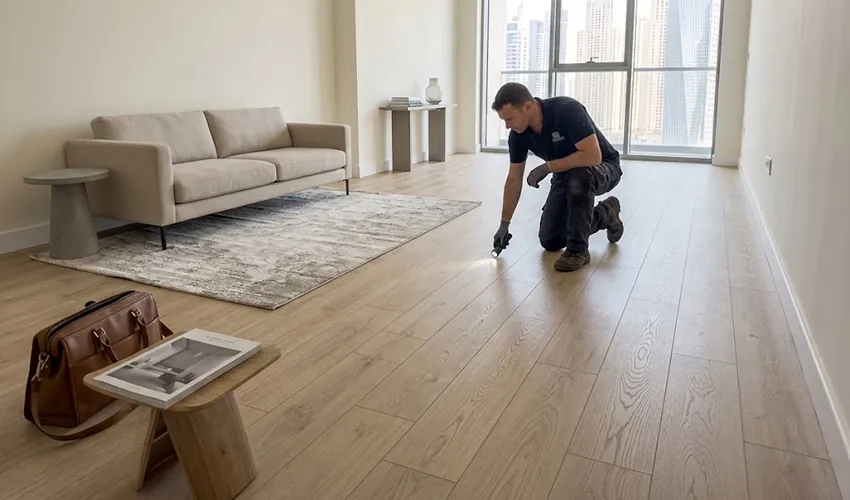
Inspect the entire floor before moving furniture back into the room.
Check for:
- Gaps between plank joints
- Raised edges or uneven sections
- Loose or damaged locking joints
- Correct expansion clearance around walls and fixed objects
- Properly fitted transition profiles
- Scratches or chips caused during installation
Remove dust using a suitable vacuum cleaner or soft broom. Clean the floor according to the manufacturer’s maintenance instructions.
Use protective pads beneath furniture legs when moving items back into the room. Avoid excessive water when cleaning laminate flooring, even if the product has water-resistant features.
Common Laminate Flooring Installation Mistakes
Skipping subfloor preparation
An uneven or unstable base often leads to movement, gaps, and damaged joints. Check the surface before laying any planks.
Ignoring moisture
Moisture entering the core of unsuitable laminate products often causes swelling and damage. Test the subfloor and address moisture problems before installation.
Leaving no expansion gap
Laminate flooring needs clearance around the perimeter and at other locations specified by the manufacturer. Without sufficient space, the floor might buckle or lift.
Using the wrong underlay
An incompatible underlay affects the support beneath the locking joints. Match the underlay to the flooring product and subfloor.
Installing planks without checking the layout
Poor planning often leaves narrow pieces along walls or awkward cuts near doorways. Measure the room and plan the first and final rows before fitting begins.
Rushing the installation
Misaligned rows and damaged joints become harder to correct as the floor progresses. Check the alignment of each row before moving to the next.
Is DIY Laminate Flooring Installation Right for You?
DIY installation suits homeowners who have the necessary tools, time, and confidence to measure, cut, and fit flooring accurately.
Professional installation is worth considering if your room has an uneven subfloor, moisture concerns, complex corners, multiple doorways, stairs, or a herringbone layout. An installer also helps when you need several rooms completed with consistent transitions and finishing.
For homes and offices in Dubai, assess the subfloor and indoor conditions before selecting the installation method. Choose laminate designed for the intended space and follow its specific fitting requirements.
Get Professional Laminate Flooring Installation in Dubai
Planning a flooring upgrade for your apartment, villa, or office? Flooring Dubai supplies laminate flooring in a variety of colours, textures, plank thicknesses, and patterns.
Explore our laminate flooring collection in Dubai to compare available designs and arrange professional installation. Our team offers flooring consultations, measurements, samples, and installation support to help you plan your project.