So, you have finally decided to integrate a natural appeal, classic beauty, and freshness of real wood around your space. Well, that’s a good idea. Installing Engineered wood flooring would be one of the worthiest decisions and will surely make you feel good when it is installed.
With the perfection in looks, functional in behaviour, and practical in offering a great value to your space, this engineered wood flooring would be a great way to go. Once you have made your decision, it’s time for you to go for installation. This article will lead you to each and every detail about engineered wood flooring installation. Read it carefully to not miss anything.
Effective Methods For Installing Engineered Wood Flooring
Installing engineered wood flooring can be a DIY project, but you must be aware of each and every detail for its installation. That includes methods for installation, effective techniques, and related tools that are required. This guide will cover 4-methods to install engineered wood flooring. Let’s check them out!
Read More: Benefits of Wooden Flooring
Method #1- Floating Engineered Hardwood Flooring
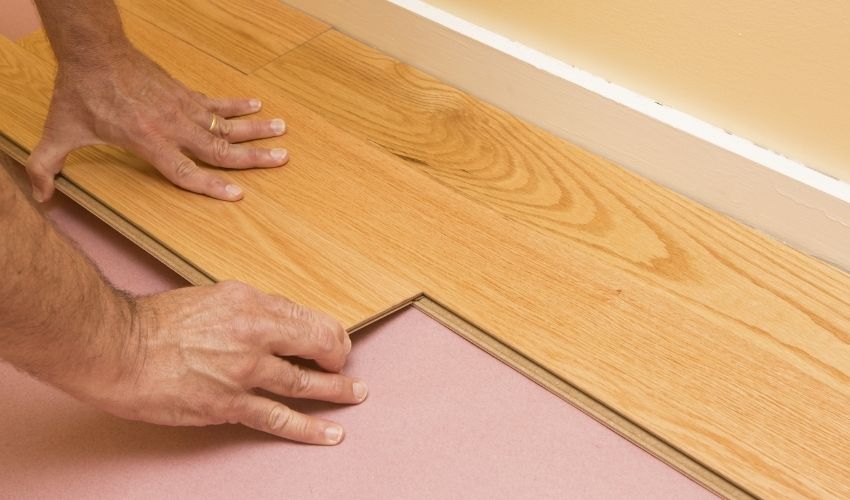
The first method for installing engineered wood flooring is the floating method. Before you start with this method, you must consider preparing your subfloor first. That includes clearing up all the dust and debris, being sure it is clean and smooth.
Moreover, consider adding underlayment and laying out spacers to maintain the expansion gap between the wood planks. After that, you begin with the steps. Check them out!
Step 1: Start with insulating your first row by gluing down the ends of planks and the tongue facing the middle of the room.
Step 2: Consider installing other rows by applying glue to the tongue and grooves and fixing them effectively together & tapping the new pieces. Be sure to wipe out any glue popping out of the planks.
Step 3: Leave a specified expansion gap on the wall side and then install the final row by perfectly fixing the planks.
Step 4: The tape is applied to avoid any type of foot traffic on newly installed flooring. Remove the tape after 24hours, when the floor is ready to walk on.
Step 5: After installing wood flooring, consider removing the spacers and adding transition pieces. After that, nail the baseboards and some molding to the wall.
Read more: Laminate vs Hardwood
Method #2 – Installing a Glue-down Engineered Hardwood Floor

Another effective & Easy method of installation. Let’s check out how it works.
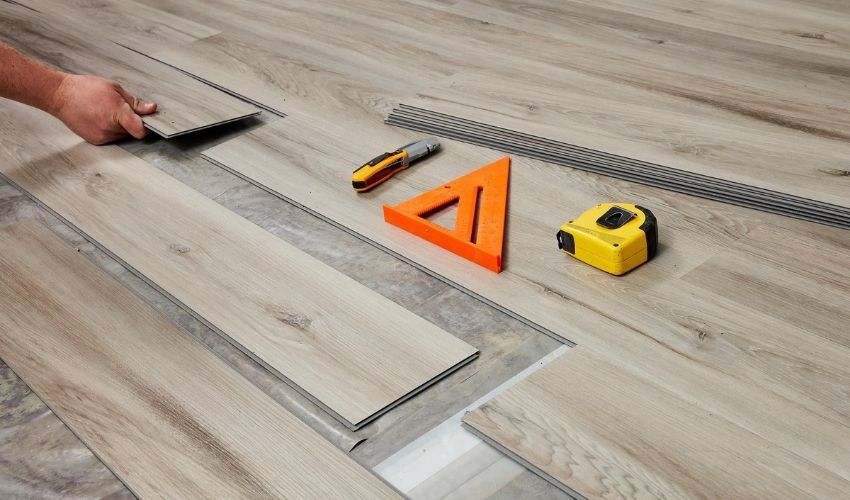
Step 1: Consider setting up an expansion gap that is necessary for methods.
Step 2: Go apply base glue all around the room.
Step 3: Consider spreading the glue to the whole area.
Step 4: Install your first row with the baseline you prepared & make sure the tongue should face the middle of the room.
Step 5: Install the second row by fixing the tongue of the first and grooves of the second row altogether.
Step 6: Make sure to fix the end perfectly & keep installing the other rows until the end.
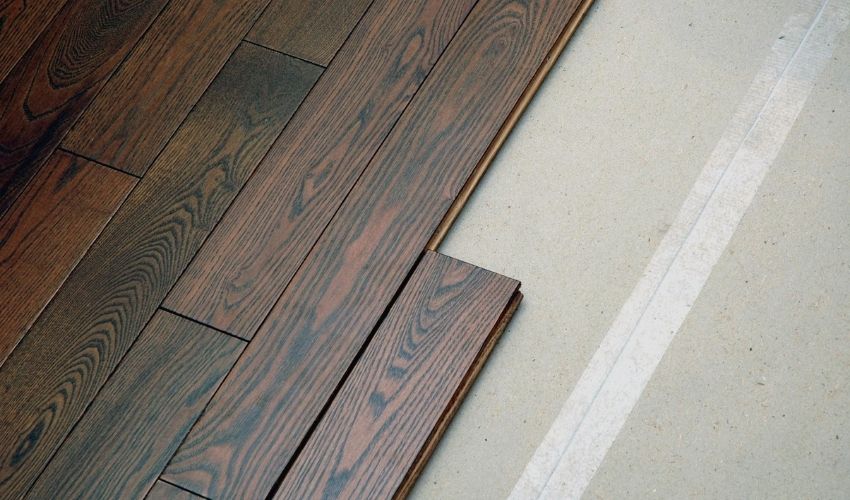
Step 7: At the end, cut the final board and fit them to the floor by leaving a gap to the wall side.
Step 8: The last step would be the same. Install transition pieces and remove spacer & you are done with your floor installation.
Method #3 – Installing a Staple-Down Engineered Hardwood Floor

The floor must be prepared well for this method too. Every Method for installing engineered wood flooring needs the same spacer around the room for expansion gaps.
Step 1: In this method, your first row must be installed after adding some finishing nails to hold the first row and work as a spacer, too. You need to fill that with some wood filler.
Step 2: Now consider adding another row by driving your staple every 3 to 4 inches at an angle 45-degree. This must be just up to the tongue of the plank. Be sure the staple must not disturb the tongue and groove fixing.
Step 3: Securing the last row would be the same as the first row. You need to use pre-drill planks and then put nails to fix them. Afterward, fill the nail holes with wood filler because the pneumatic stapler will not work in small spaces.
Step 4: So, this will be the same, remove the spacers, install the transition pieces. Fix the baseboards or shoe molding to finish the floor.
Method #4 – Installing a Nail-down Engineered Hardwood Floor
This is a much identical method to the last method we discussed, which is staple-down engineered wood installation. Note that the subfloor preparation would be the same. This is necessary for the perfect installation of the floor. Let’s find out how this method works!
Step 1: In this method, for the first row, you are supposed to use pre-drilled planks. The tongue of them must face the center of the room. Pre-drilling & nailing secure your floor and avoid any crack or scratch on it while making your job easy. You just need to fix the nails and fill the nail holes with some good wood fillers.
Step 2: For the nest rows, here you need to use a pneumatic nail gun. Drive the nails on the planks above the tongue. Be sure to countersink the nails in the right way so that they don’t disturb the fixing of the tongue and grooves of the other rows.
Step 3: The last row would be the same as the first one. Add pre-drilled planks and insert nails afterward. Make sure to keep a bit of distance from the wall.
Step 4: Once the installation is complete, consider removing the spacer and fixing transition pieces. Add the baseboards and shoe molds for perfect floor finishing.
Wrap Up!
For Installing Engineered Wood Flooring, the above-mentioned methods are the most precisely used methods. The good thing is that all the methods are completely DIY-friendly. You can install the whole flooring by yourself by following any of the listed methods. On the off chance, if you need help from pros, then you can consult experts flooringDubai.com.
We hope you’ll surely get assistance as early as possible and your floor will be installed with great perfection. Let us know in the comment section if you have any other queries afterward with floor installation, we’ll hopefully get you covered with everything.