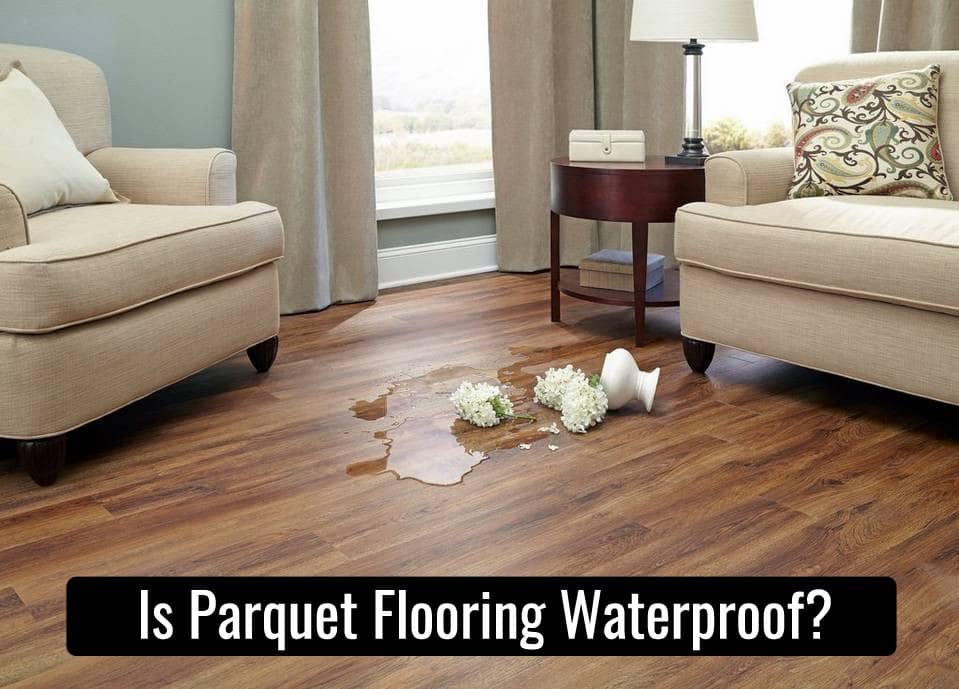
Flooring is, no doubt, an elemental statement in the entire home decoration. And, while deciding on flooring, the very first thing that you might look for is durability. Most people are looking for flooring that can last longer and is available at a discounted price. So, here comes the vinyl flooring, perfect in all aspects, i.e. can last longer and is available at a very affordable price. After making a purchase on this highly durable floor covering, people go for the professional’s service in order to get it installed. Because they don’t know how to get this process down by themselves.
So, let me tell you here that the process of installing vinyl flooring Dubai is simple and easy, and you can do it by yourself, saving the money that you would spend by availing yourself of professional services. And for that purpose, here in this article, we brought you up with some easy and simple steps on how to install the vinyl flooring in a professional way so that your living place could have an attractive look at a reasonable price.
Related: Vinyl vs Laminate Flooring
7 Easy Steps Regarding the Installation Of Vinyl Sheet Flooring
Well, here you are going to know a very simple method of vinyl flooring installation which is “loose-lay vinyl flooring installation”. This process actually avoids the use of adhesives on the floor so that your floor won’t look unworthy after you remove the vinyl flooring. You can use the double-sided sticky tape for its installation in high-traffic areas.
Basically, this installation process of vinyl sheet installation works best in the small areas, i.e. kitchen or bathroom. Yet, you can use this method to lay the vinyl plank in any area of your home and allow it to gain an adorable look.
1. Make the Vinyl Sheet Flooring Easy to Get Unrolled

Before you start the installation process of this amazingly designed flooring, put it near the job site for about 24 hours. And keep in mind to set the temperature at 65 degrees Fahrenheit or 85 degrees Fahrenheit. This temperature will help the sheet to get unrolled easily during the installation process.
2. Get Yourself Ready With the Necessary Equipment
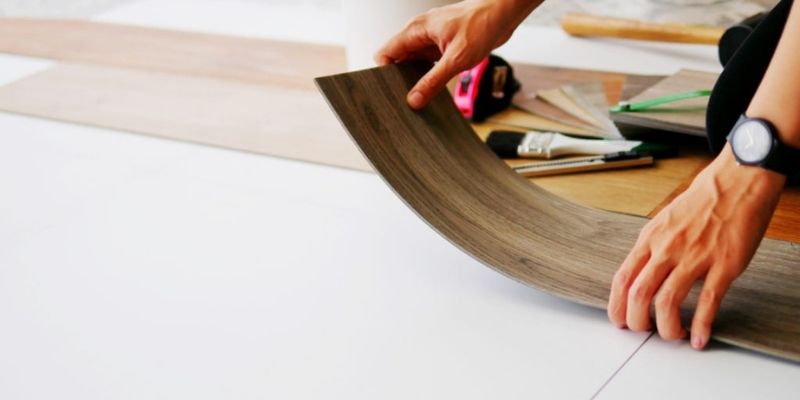
It will be better if you get yourself ready with all the necessary equipment before starting the installation process. So that you can easily get the task done without getting frustrated. The equipment/material that you need during the installation process includes a putty knife, oscillating multi-tool, utility knife, tape measure, double-sided flooring tape, and level compound. When you find yourself ready with all this equipment, then you can start laying the vinyl sheet flooring.
3. Prepare the Area to Lay Vinyl Sheet Flooring

First things first, for the proper installation, you need to prepare the area where you are going to lodge this professionally manufactured flooring. Prepare the area in such a way that it removes all the baseboards, shoe molding, and trims. Because all these things could act as hurdles during the installation process. So, it is mandatory to remove them first. You can install them later after the installation of the vinyl sheet at the place.
4. Get the Subfloor Leveled And Smooth

Before you start laying the vinyl sheet flooring, make sure that the subfloor is smooth and leveled enough. Treat all the seams, gaps, and gouges. You can use the level compound to fill up those gaps and seams. It will help the subfloor to get level so that the installation can be done in a perfect way.
Also Read: Benefits of Vinyl Flooring in Dubai Homes and Offices
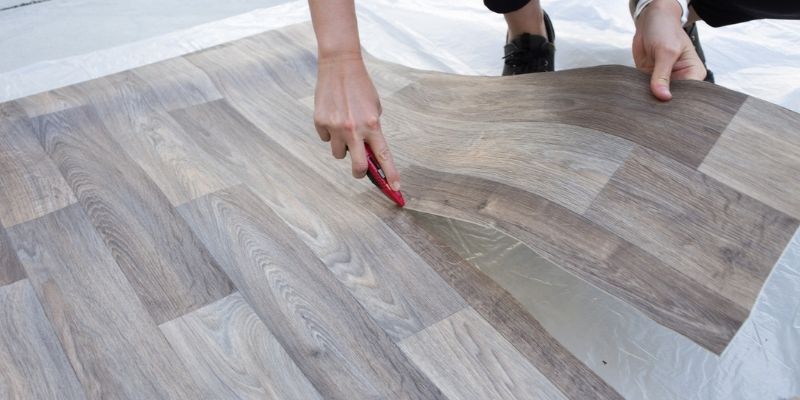
5. Cut the Vinyl Sheet Flooring Before Installation

Now, turn the temperature off and lay the vinyl sheet in the room after cutting it to the size of the area. Make sure to leave an extra 4 inches from all the sides, running up to the walls. Leave the flooring as it is in the room for about 2 hours so that it can adjust itself according to the size of the room. It will make the installation process really easy.
Also, it will be better if you make the cuts at the corners. Moreover, cut the sides of the flooring where the wall and the subflooring meet. Cut as close to the corners so that the remaining could get hidden into the baseboards or the shoe moldings.
6. Add Adhesive Tape And Secure the Vinyl Sheet

After 2 hours of its placement in the room. Now, remove it and add the double-sided adhesive tape on the floor for the secure placement of vinyl sheet flooring. Don’t try to lay the tape on the entire flooring. Get it placed only in the high-traffic areas, making sure that it lies flat. Now, roll the flooring back in place and press it strongly enough that it gets strongly stuck to the tape. So that it could not move from its place and make your precious place look much more worthy.
Also Read: The Best Vinyl Plank Flooring Reviews and Guide
7. Install the Baseboards And Make the Space Look Adorable
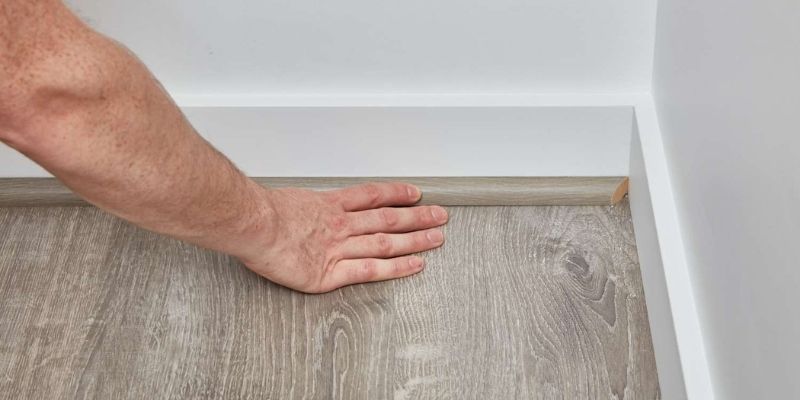
Install all the baseboards or shoe molding back in the place where you removed them before the installation process. This will give the entire process a perfect finishing look. Clear up all the mess, and do the vacuuming. In this way, you are done with the installation process, and here you go with the alluring floor covering of your place.
To Sum Up
At the end of this article, I will highly recommend using these tips and tickets for the perfect installation of vinyl sheet flooring at your place. These tips are the most effective and simplest ones. If you follow them properly, there will be no need to hire a professional for such an easy installation process of floor covering.